
By Laurent Fournier
As mentioned elsewhere on this site, the electrical contacts on the HP41 get oxidized over time and this led me to disassemble mine (sometimes I could not access my XFunction module because the flexible printed circuit print that holds the extension modules was oxidized).
But I could not assemble it again because the small screws did not hold the plastic assembly anymore. Then I did a small modification by using mechanical screws and reassembling. The photos show how I did it:
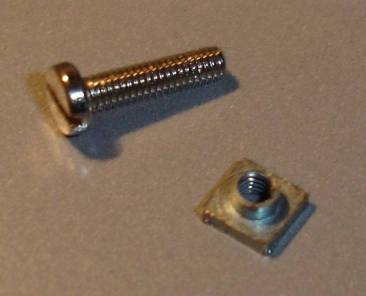
Close view of screw and nut
Of course the nuts are quite non-standard (I got them years ago while unmounting old racked VME boards). The screws are 2.5mm in diameter, the nuts need a small 3mm drilling to fit into the case (not more than 1mm in depth) and a bit more drilling to fit the square part into the case.
Original and modified nut
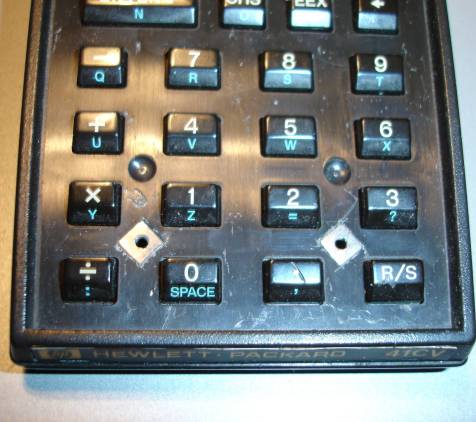
Adjust screw length so that they do not come above the keyboard surface. Do not tighten the screws too much as they may definitely break the keyboard case (not the keyboard itself, by chance !) and harm the flexible contact rows between the main board and the keyboard. No glue needed. Put back the keyboard layout; there should be no visible trace of the modification. The same cannot be done for the two other screws as the nuts would come under the ON/USER and PRGM/ALPHA keys, but this is perhaps to be further investigated.

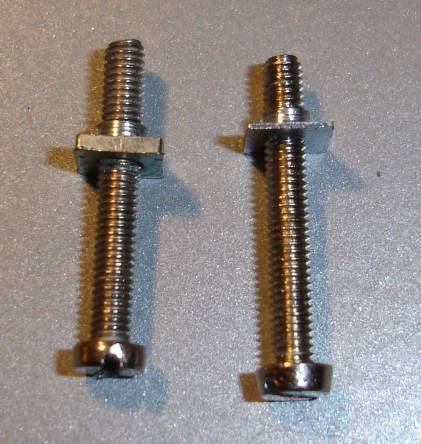
The case with one nut
The keyboard layout needs to be first carefully unglued in order to perform the modification, and stored away from dust during the operation. Of course be very careful with electrostatic discharge when handling the HP41 electronic circuit. I put it in a safe antistatic place and made sure that the big capacitor was discharged before disassembly (leave your HP41 battery pack out for at least 24 hours before doing any disassembly).
Two nuts in place
Now my HP works fine, even though it is 25 years old!